
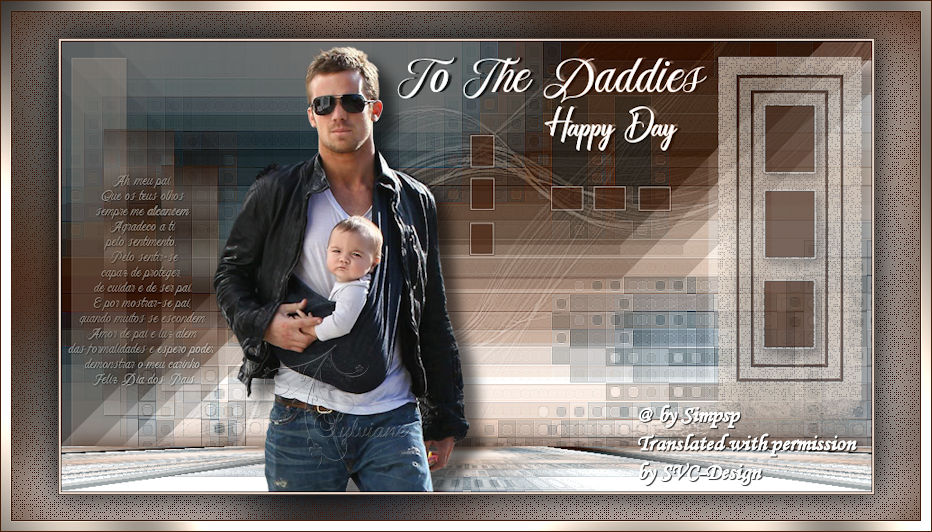
This lesson is made with PSPX9
But is good with other versions.
© by SvC-Design

Materialen Download :
Here
******************************************************************
Materials:
Deco1_texto_ByCidaBen.pspimage
Deco2_ByCidaBen.pspimage
Deco3_ByCidaBen..pspimage
MR_Proud Daddy.png
Narah_Mask_1375.jpg
Titulo_ToTheDaddies_HappyDay_ByCidaBen.pspimage
******************************************************************
Plugin:
Plugins - XE Xtras - Elemental - Metals - Mercury
Plugins - Filters Unlimited 2.0 - &Bkg Designer sf10 II - NEO Vasarely Mosaics
Plugins - Filter Factory Gallery G - Bevel 1.5
Plugins - Toadies - What Are You?
Plugins - MuRa's Meister - Perspective Tiling
Plugins - Xero - Tekstya
Plugins - Flaming Pear - Flood
******************************************************************
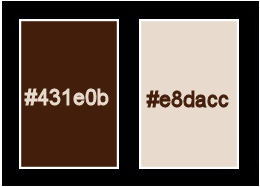
color palette
:
******************************************************************
methode
When using other tubes and colors, the mixing mode and / or layer coverage may differ
******************************************************************
General Preparations:
First install your filters for your PSP!
Masks: Save to your mask folder in PSP, unless noted otherwise
Texture & Pattern: Save to your Texture Folder in PSP
Selections: Save to your folder Selections in PSP
Open your tubes in PSP
******************************************************************
We will start - Have fun!
Remember to save your work on a regular basis
******************************************************************
1.
Set up the material palette with the following colors:
Foreground: #431e0b.
Background: #e8dacc.
2.
Open a new transparent image of 900x500 px
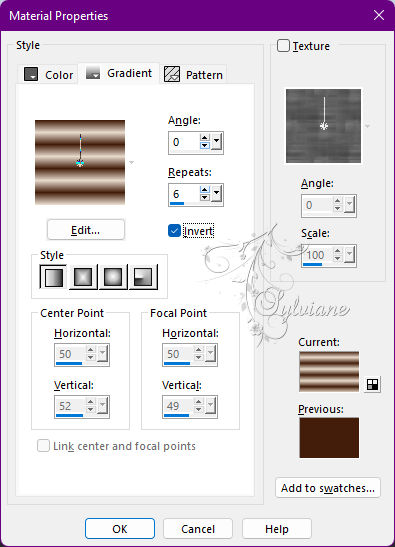
Paint transparency with a Linear gradient formed by the chosen colors:
3.
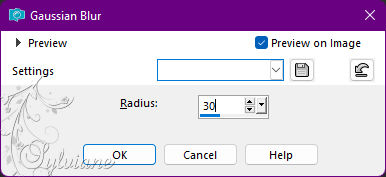
Adjust - Blur - Gaussian Blur
4.
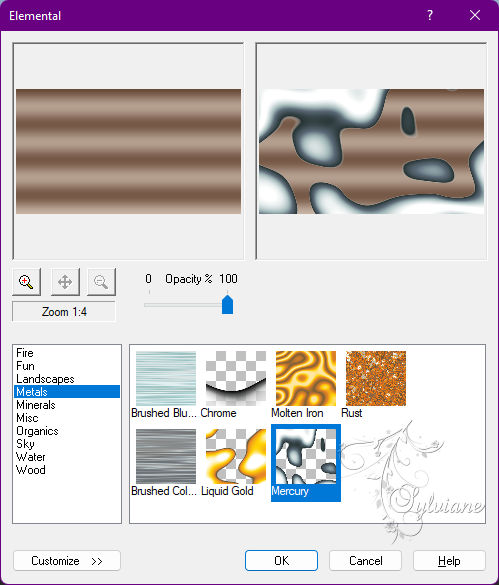
Plugins - XE Xtras - Elemental - Metals - Mercury
5.
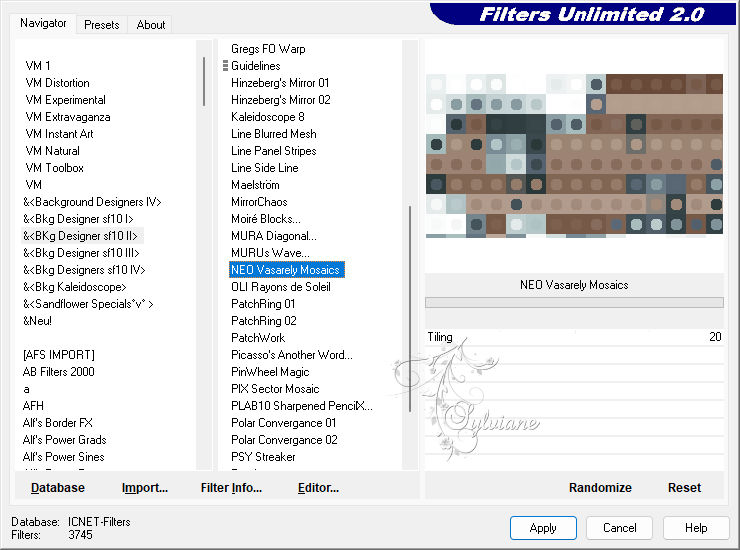
Plugins - Filters Unlimited 2.0 - &Bkg Designer sf10 II - NEO Vasarely Mosaics
6.
Adjust - Sharpness - Sharpen.
Effects - Edge Effects - Enhance.
7.
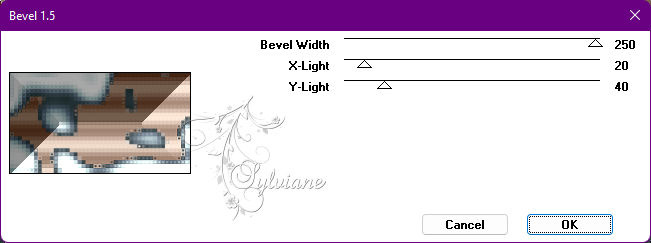
Plugins - Filter Factory Gallery G - Bevel 1.5
8.
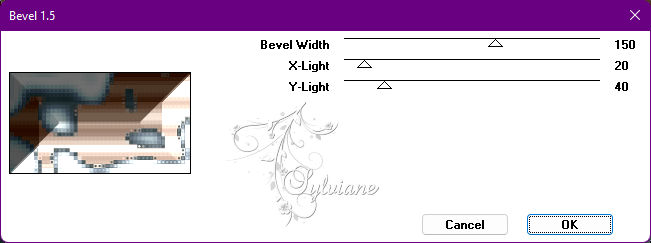
Plugins - Filter Factory Gallery G - Bevel 1.5
9.
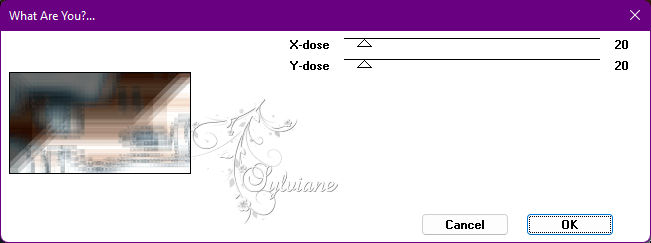
Plugins - Toadies - What Are You?: Default.
10.
Layers - Duplicate.
11.
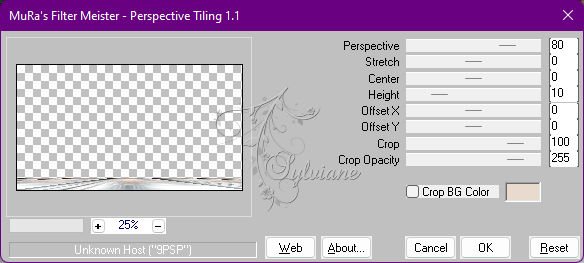
Plugins - MuRa's Meister - Perspective Tiling
12.
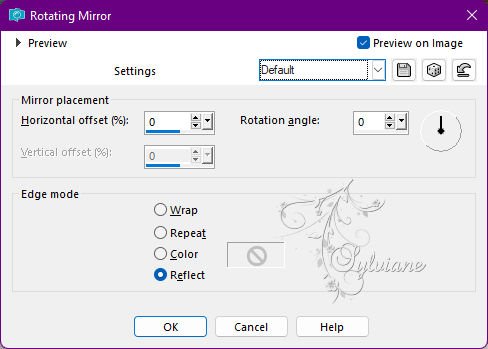
Effects - Reflection Effects - Rotating Mirror: Default.
13.
Effects - 3 DEffects - Drop Shadow:
0/ 0/ 100/ 40 - Color: Foreground color.
14.
Layers - New Raster Layer.
Paint with the color of the Background.
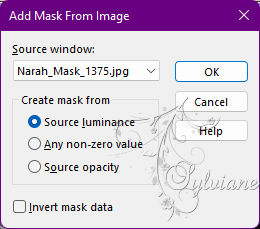
Layers - New Mask Layer - From Image - Mask:Narah_mask_1375
Layers - Merge - Merge Group.
Blend mode: Soft Light.
Effects - Edge Effects - Enhance More.
Layers - Arrange - Move Down.
15.
Open Deco1_texto_ByCidaBen.pspimage
Edit - Copy
Edit - Paste As New Layer.
Opacity: 50.
**If you want to color ize according to the color you are using**
Adjust - Hue and Saturation - Colorize.
Activate selection tool (Press K on your keyboard)
And enter the following parameters:
Pos X : 7 – Pos Y : 17
Press M.
Adjust - sharpness - Sharpen
16.
Open Deco2_ByCidaBen.pspimage
Edit - Copy
Edit - Paste As New Layer.
Activate selection tool (Press K on your keyboard)
And enter the following parameters:
Pos X : 730 – Pos Y : 17
Press M.
**If you want to color ize according to the color you are using**
Adjust - Hue and Saturation - Colorize.
Adjust - sharpness - Sharpen.
17.
Plugins - Xero - Tekstya
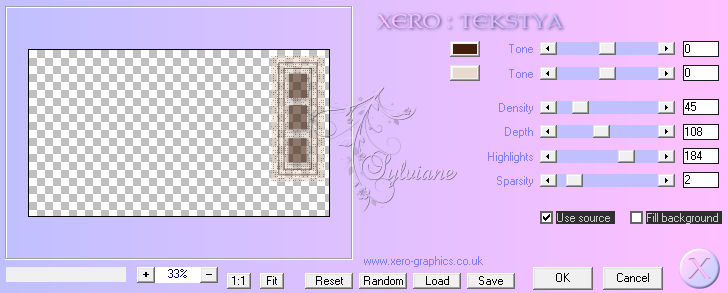
Adjust - Sharpness - Sharpen
Effects - 3 DEffects - Drop Shadow
15/ 16/ 60/ 20 - Color: #000000.
18.
Plugins - Flaming Pear - Flood
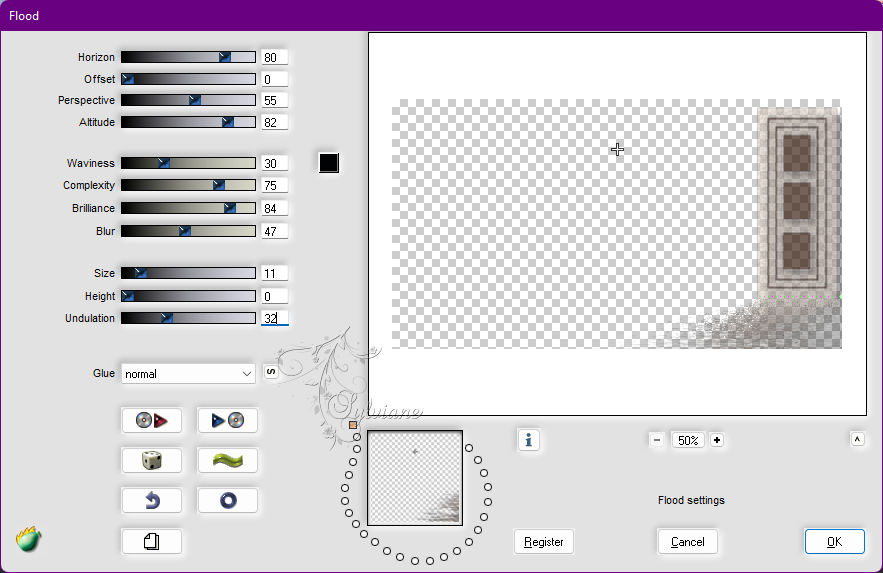
19.
Activate the Top Layer (Copy of Raster1)
Open Titulo_ToTheDaddies_HappyDay_ByCidaBen.pspimage
Edit - Copy
Edit - Paste As New Layer.
Activate selection tool (Press K on your keyboard)
And enter the following parameters:
Pos X : 373 – Pos Y : 16
Press M.
Blend mode - Luminence(Legacy).
20.
Open Deco3_ByCidaBen..pspimage
Edit - Copy
Edit - Paste As New Layer.
**If you want to color ize according to the color you are using**
Adjust - Hue and Saturation - Colorize.
Activate selection tool (Press K on your keyboard)
And enter the following parameters:
Pos X : 453 – Pos Y : 103
Press M.
Adjust - Sharpness - Sharpen.
21.
Open the main tube
Edit - Copy
Edit - Paste As New Layer.
Position to the left.
Adjust - Sharpness - Sharpen
Apply Drop Shadow or effect as desired.
22.
Image – Add Borders –symmetric - 1px - Color: Foreground color.
Image – Add Borders –symmetric - 2px - Color: Background color.
Image – Add Borders –symmetric - 1px - Color: Foreground color.
23.
Selections - Select All.
Selections - Promote Selection to Layer
Image - Resize: 90% - Resize all layers > Cleared.
Activate the Background layer.
24.
Adjust - Blur - Gaussian Blur: 25.
Plugins - Xero - Tekstya
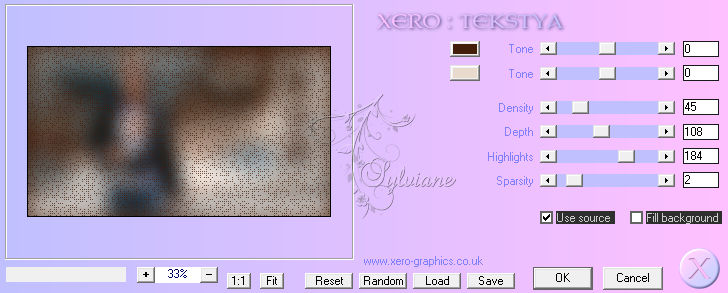
Adjust - Sharpness - Sharpen.
Selections - Select None.
Activate layer promoted selection.
25.
Select the transparent part of the Layer with Magic Wand:
Mode: Add (Shift) > Match Mode: None*
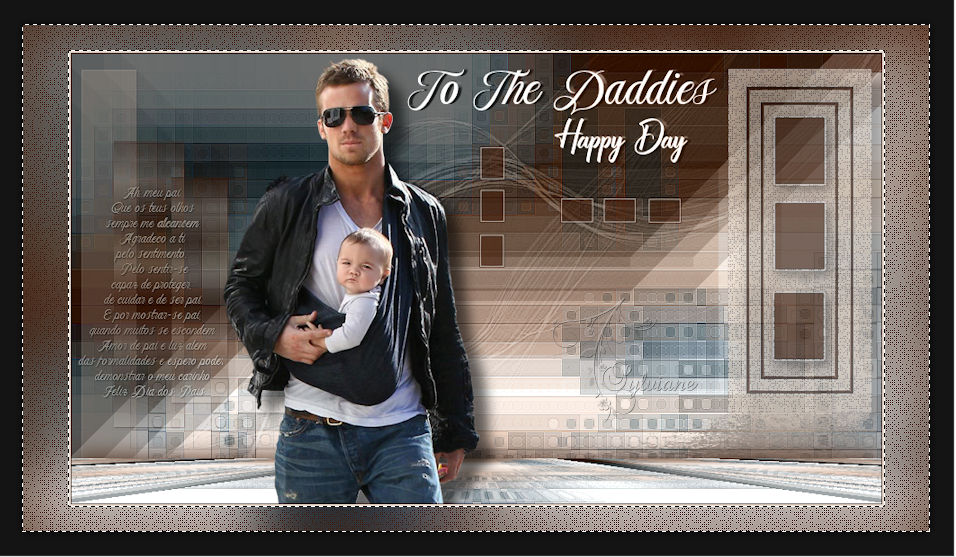
Selections - invert
Effects - 3 DEffects - Drop Shadow:
0/ 0/ 100/ 40 - Color: Foreground color.
Selections - Select None.
26.
Image – Add Borders –symmetric - 1px - Color: Foreground
Image – Add Borders –symmetric – 10px - Color: Background
Select this 10px border with Magic Wand > Match Mode: RGB Value*
Plugins - Graphic Plus - Cross Shadow - Default.
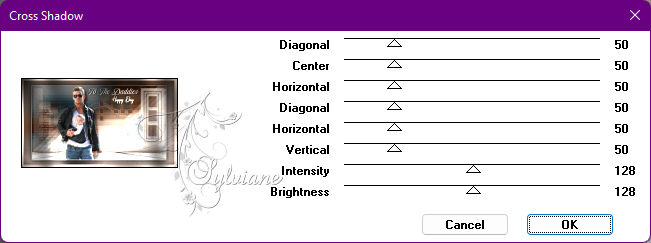
Adjust - Sharpness - Sharpen
Selections - Select None.
27.
Image – Add Borders –symmetric - 1px - Color: Foreground color.
28.
Apply your watermark or signature
Layer – merge – merge all (flatten)
Save as JPEG
Back
Copyright Translation 2022 by SvC-Design